Showing posts with label Folds. Show all posts

Friday, June 19, 2020

Today's Plan: Make a Fun Fold Card

So when I first looked through the 2020-2021 Stampin' Up Annual Catalog, the Nothing's Better Than Bundle was number one on my list!  But I have had it for a few days and hadn't put any ink to it, until now!  I saw that Just Add Ink had a Fancy Fold Challenge and I just had to give it a go.  


So I was trying to figure out what fold I wanted to do.  I went back through all my old Fancy Fold posts to try to find something I haven't done in awhile.  And I found it...a Card in a Box.  Here is my creation:
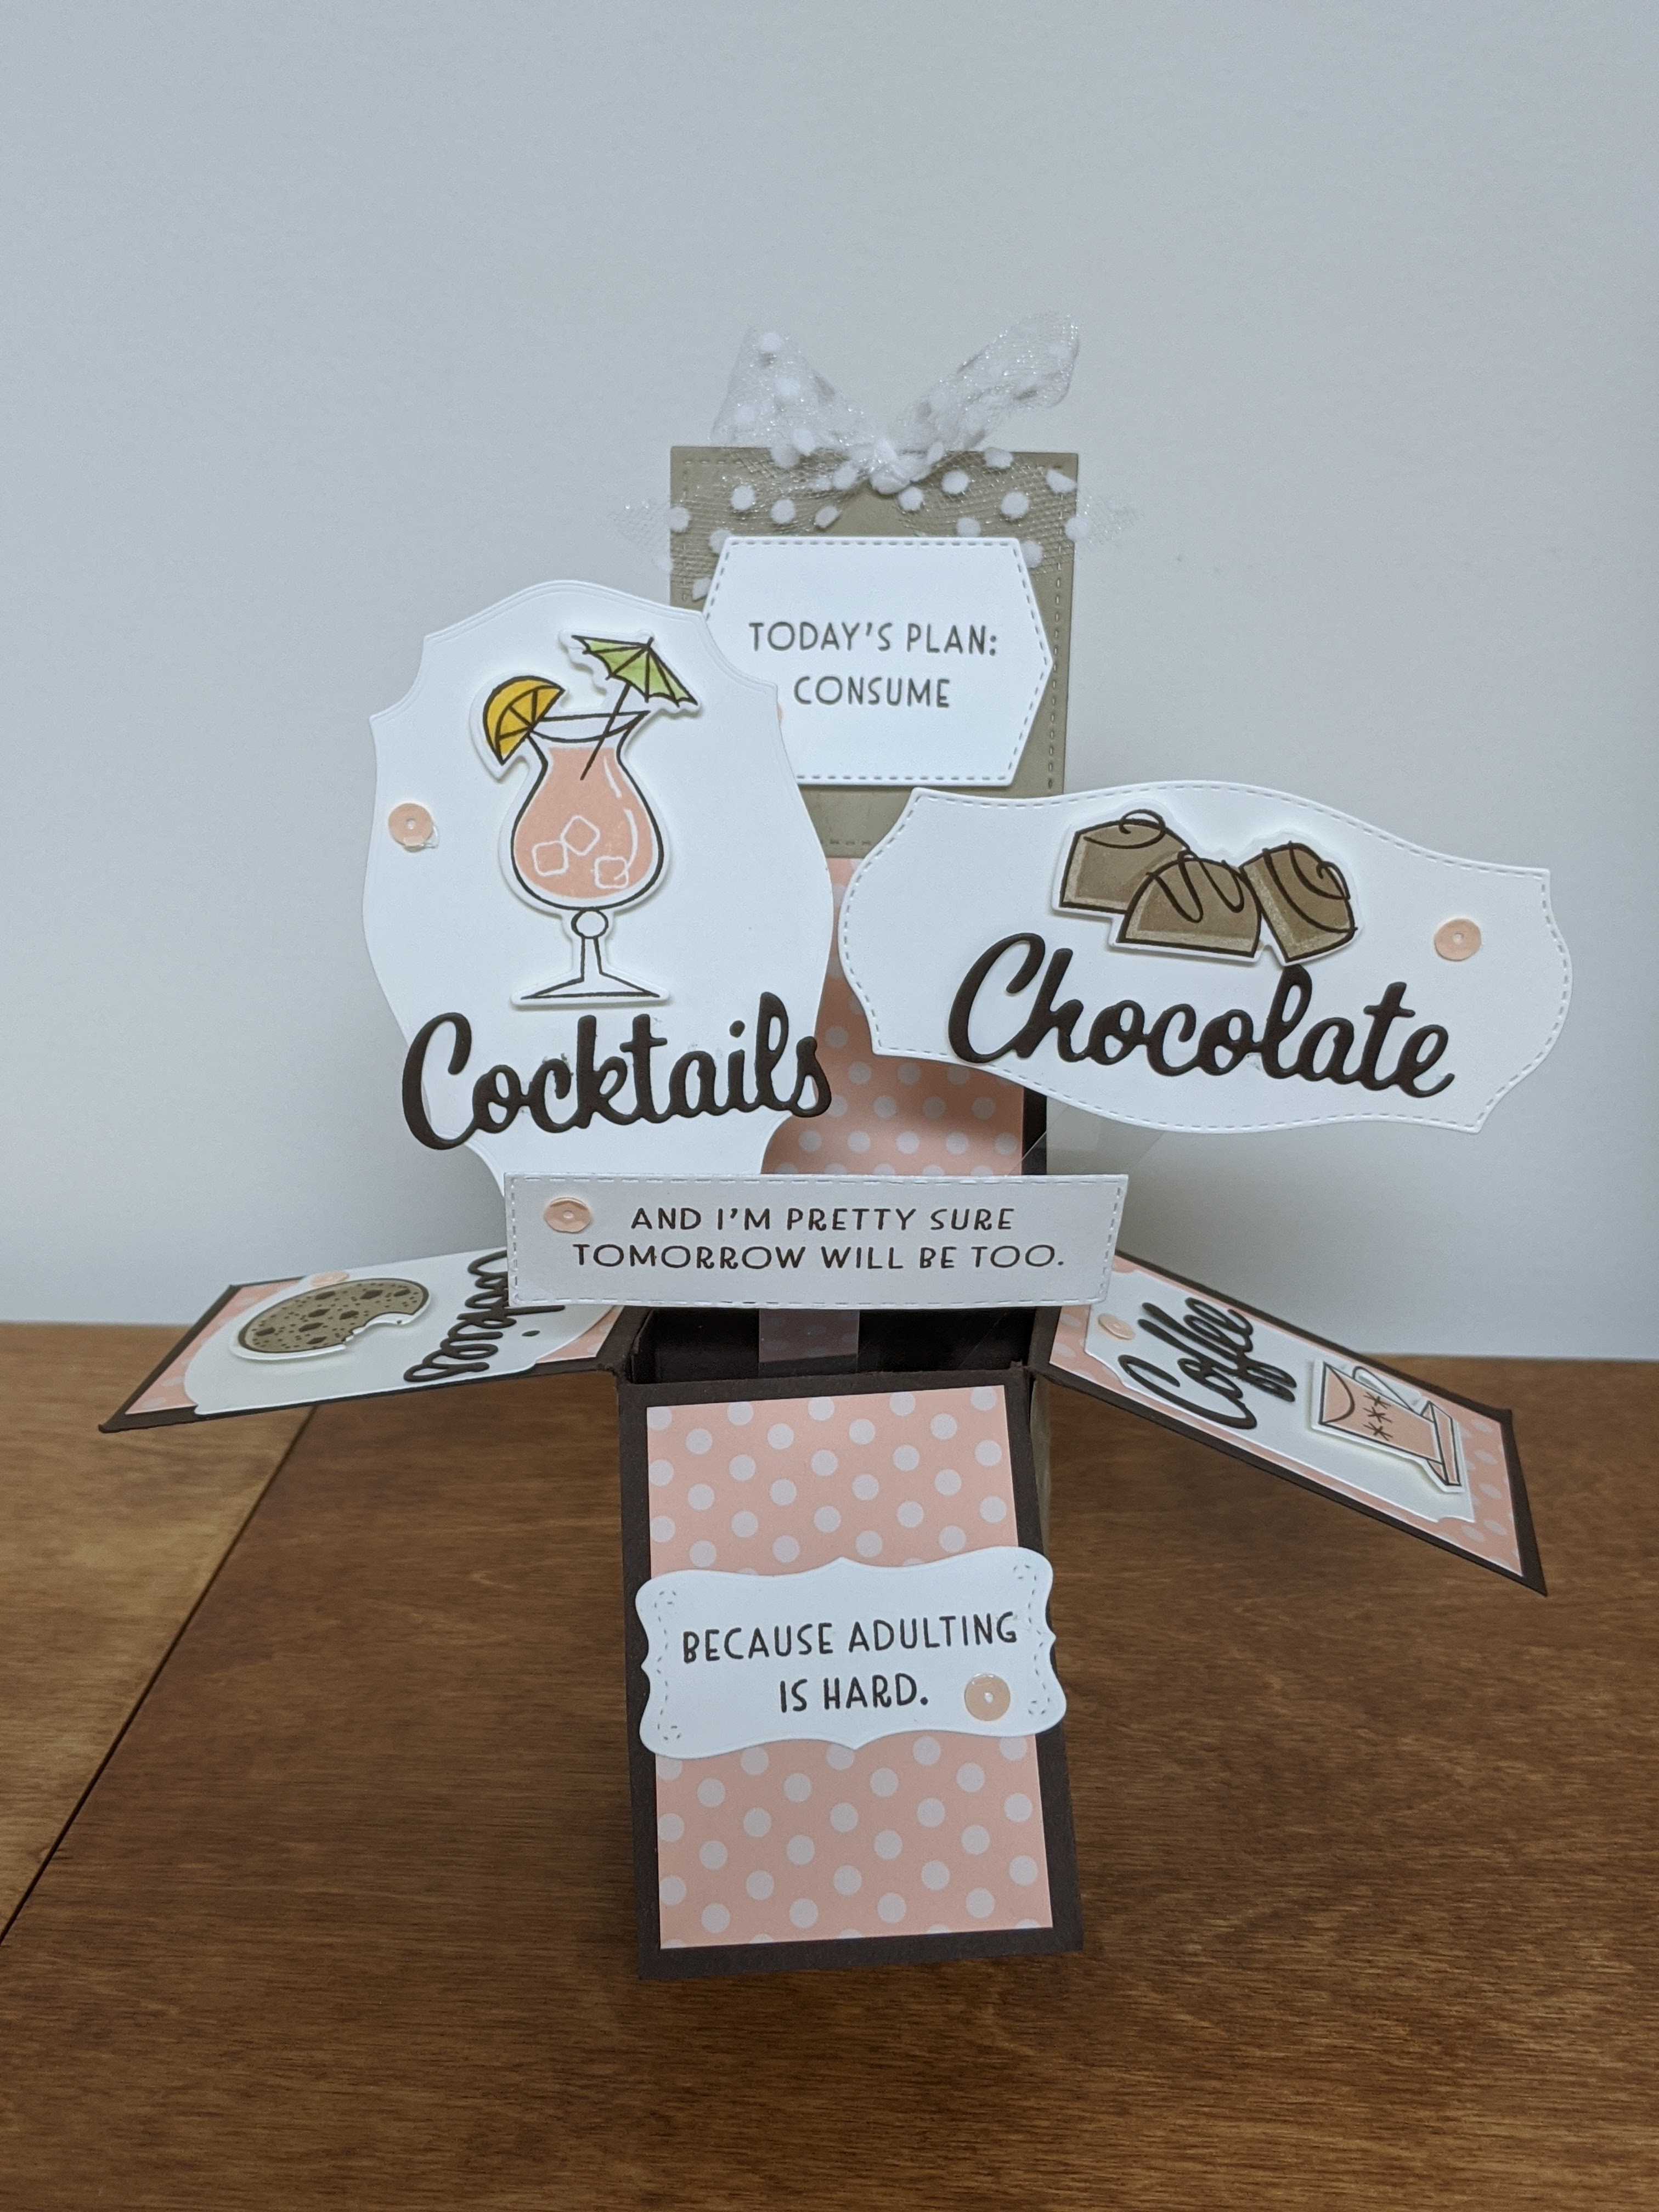

So the first thing I had to do was come up with a color scheme.  I grabbed my color coach (a gift I give to all my team members) and saw one that would be perfect: Early Espresso, Crumb Cake and Petal Pink.  The card base/box was made with Early Espresso and I added some retired Petal Pink DSP.  My tags are all cut from Whisper White.  All my words are either stamped in or die cut from Early Espresso.  The cute little images are stamped in Crumb Cake, Petal Pink and Early Espresso.  I used Window Sheets to hold up the little pop out pieces.  I added some ribbon and sequins to finish my card off.  Here are some close ups of each tag.


This card was so much fun to make.  I can't wait to play with this bundle more!  Thanks for stopping by and checking out my card!  


Monday, October 17, 2016

October Inkspiration Challenge

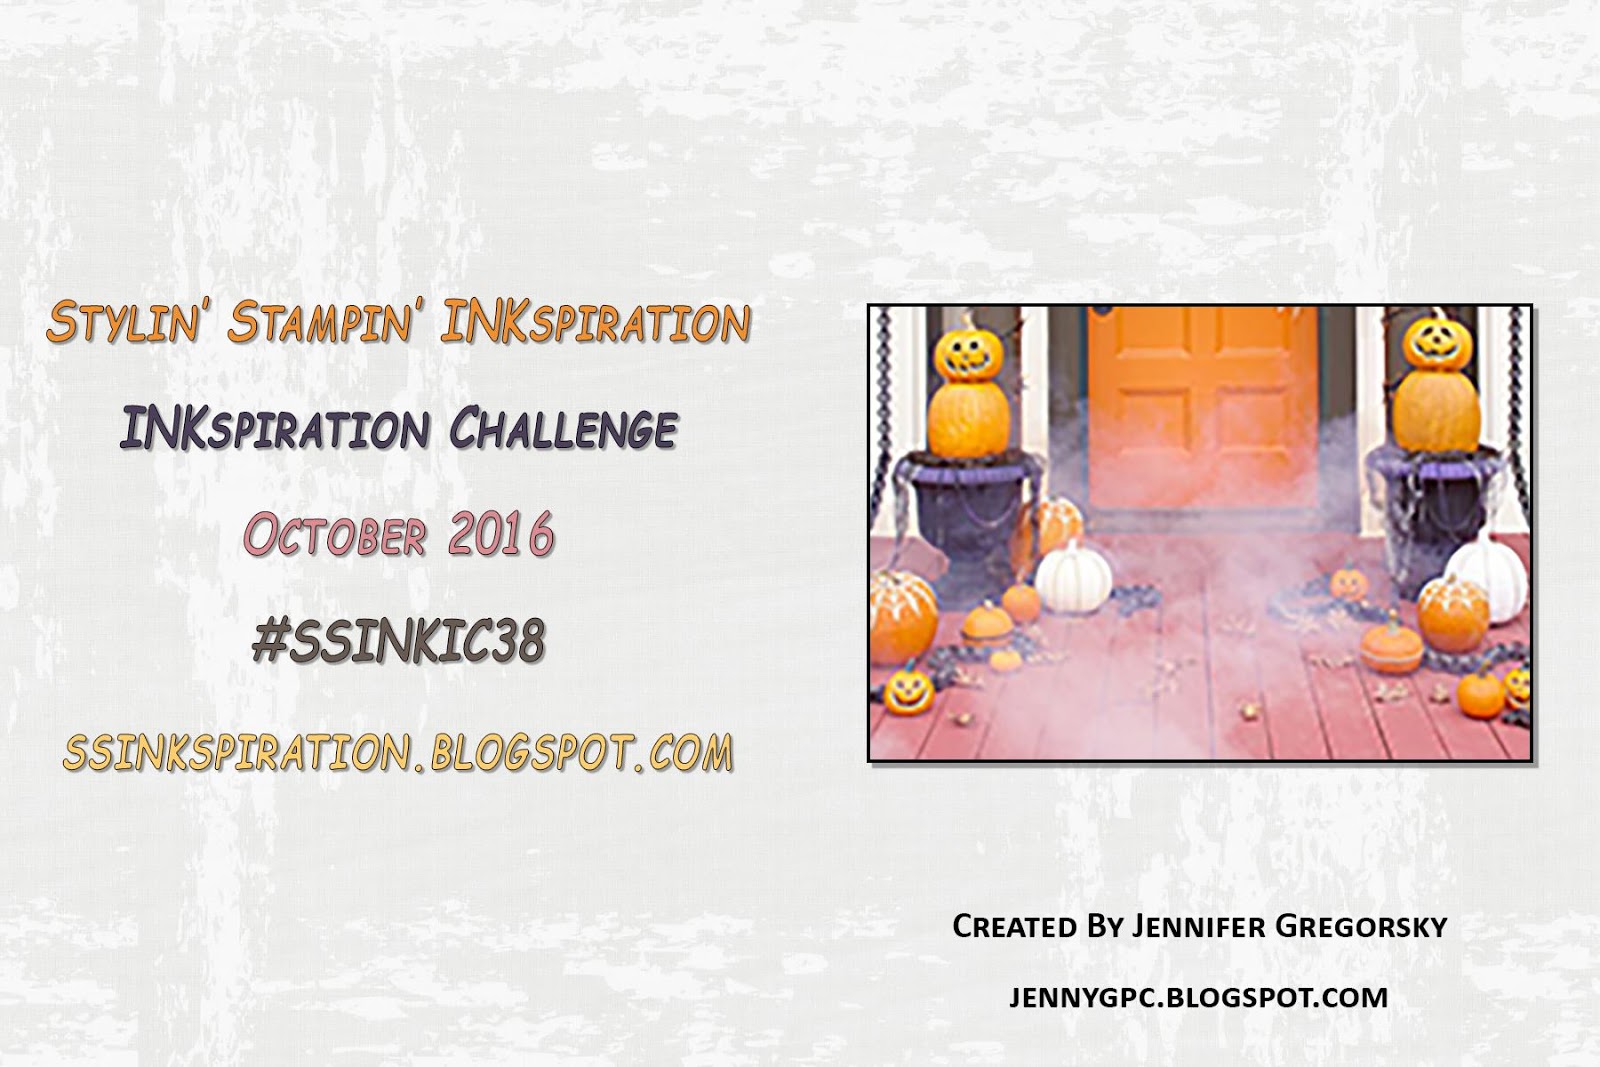
I feel like Monday just sneaks up on you.  I was lucky to spend my Sunday night with my brother who came up for a little visit before some training her had in the city.  The best thing about Mondays are the weekly challenges from SSI.  This week we have our Inkspiration Challenge.  Let's look at the image chosen for this month:


I decided to focus on the idea of the entrance but instead of just a door I did the whole house.  Here is my creation:


I had this idea of working a few stamps set and dies together using a Stair Step Card.  I like how it turned out but I would do a few things differently next time.  I love the tree and fence edglits, but next time I would adhere them to the front part, not the back.  You can't tell in the picture I took, but it doesn't lay as nice as I wanted it too.  I do like how I was able to create a three dimensional card with the help of the dies.  And my favorite part is the Pumpkin Pie Glimmer Paper as the moon. 

Below is a supply list, except the little hexagon tag and stamp on it is from the September Paper Pumpkin kit, which was super cute and I was so happy to get refills for it!  In fact you will see more I have created with this great kit in the future.  

Now its your turn to create something inspired by that image.  Use the colors, the theme, the images or even the layout.  Head over to SSI for all the details, more ideas from the design team and to upload your creation.  


Friday, July 8, 2016

A Fancy Fold with Seaside Shore

I love paper crafting.  It is so amazing all the wonderful things you can come up with using paper.  I am always looking for a new way to make a card.  Today at SSI, we are looking at Fancy Fold for cards.  I found a fun one by checking out another demo's You Tube Page (France Martin).  She called it a flip card, I have also seen it called a swing card.  Here is mine:


Here it is open:


Here is a tip...be sure to stamp the inside BEFORE you adhere it to the base.  I was able to make it work but it was touch and go there for a bit.  This was a fun card to make and it would be a cute card to send to my nieces...they would love all the fish and would probably try to figure out how I made it!  
For a complete supply list, check out below.  Be sure to head back over to SSI where we got Fancy with our Folds on Friday!


Thursday, February 25, 2016

A Picture Perfect Fancy Fold

I loved the stamp set Picture Perfect when the Occasions Catalog first came out, but it wasn't a stamp set I needed right away.  But now that I have it, I just love the pretty images I can make with it.  Today I am showing off a Fancy Fold card featuring this stamp set.  Here it is:


I used Tip Top Taupe for the card base and for the swirls behind the roses.  The green card stock is that fun bright Cucumber Crush.  I used that green along with Pear Pizzazz and Wild Wasabi to stamp the leaves.  For those pretty roses, I used Blushing Bride, Calypso Coral and Watermelon Wonder.  I left the middle panel there for a place to write a message. 

Thanks for looking!  For more Fancy Folds, head over to SSI!  


Tuesday, January 5, 2016

New Catalog Countdown Day 1 - Going Places Suite


It's here!  Today you can have at the whole Occasions Catalog and earn some fabulous new Sale-A-Bration products!  Try not to break the internet!  We have been sharing peeks at new products and projects over at SS Inkspiration for the past few days.  Here is a out last special look for you.  Today I am showing off the Going Places Suite.


Here is a quick Circle Flip Card I made with the fabulous Going Places DSP.  I used a Mossy Meadow card base and layered more Mossy Meadow embossed with the Happy Hearts embossing folder.  Don't you love that map paper?  The Going Places DSP stack is full of awesome patterns!  


This is my favorite so far.  Don't you love that embossing folder of the world map?  The colors of this card are Sahara Sand, Lost Lagoon and Basic Black.  I loved that compass paper as well.  The world stamp and the sentiment come from the Going Global stamp set.  It is hard to see in the picture but on the scallop around the world I coated it with the Wink of Stella glitter pen.  I did add some splatters from the Gorgeous Grunge set on the background for some extra texture. 


This card is perfect for your favorite astronomer!  I love the star paper and the Big Dipper stamp.  I decided to use the Star Confetti punch with some Delightful Dijon card stock on top of the star paper for some extra star!  I added some gold sequin for some more sparkle!


This final card uses an AWESOME Sale-A-Bration stamp set that is only available until the middle of February.  It is call The Sky is the Limit.  I stamped the plane on some Going Places DSP with the Black Archival Ink and added Wink of Stella glitter in the heart cloud.  I added a vellum propeller.  This is such an easy card to make!  

There is it...5 days of sneak peeks of the amazing new products from the Occasions Catalog and the Sale-A-Bration Brochure.  If you missed anything, go back and check out all the great projects created by our design team at SS Ink!


Saturday, October 17, 2015

Fun Colors and a Partial Easel Card

I had a little time to make a quick card for two challenges today.  The first is for Fab Friday and its a great color challenge.  The second is for Just Add Ink and they want us to do a Fancy Fold.
  

Those are some fun colors, right?  Here is my card:


I had recently bought the Seasonal Snapshot 2015 Project Life Kit and planned my whole card around that pumpkin.  Its actually as wood card that I sponged with Tangelo Twist and layered on Basic Black card stock.  I made just part of the card an easel card.  I thought the ghost paper from the Happy Haunting DSP would go cute with the pumpkin.  I pulled out all the spooky stops with part of a spiderweb and a BOO cute from Bermuda Bay.  On the right side I made my own DSP with the spiders from A Little Something and used the Trick or Treat sentiment layered on Bermuda Bay.  I added some of the Bermuda Bay sequin trim for a little more pop of color.  

Thanks so much for looking!  I think this card might go to my daughter's teacher.    

Tuesday, October 13, 2015

Blackberry Bliss is Best

I love that Stampin' Up! puts out new In Colors each year.  I love finding great ways to use those colors as well.  I really do love all the In Colors, so it was hard for me to pick a favorite.  But there is one that I go to the most and that is Blackberry Bliss. I love how rich looking it is.  And it pairs well with colors from every family.  I have some projects to share with you showing you how versatile this color is.  

First up, I have a gate fold Christmas card pairing Blackberry Bliss with Soft Sky and some silver accents.


Next up I paired Mint Macaron (my second favorite in color) with Blackberry Bliss in this butterfly Hello card.


Here I CASE'd a card from the Holiday catalog and put Blackberry Bliss with Crushed Curry in this leaf inspired grateful card.


I paired Blackberry Bliss with Bermuda Bay in this card I made for a sketch challenge over the weekend.


And finally Blackberry Bliss can work well with a basic Crumb Cake notecard.  Here I made a quick thank you card:


See how fabulous this color is?  If you don't already have it in your collection, you better get it before it retires in May!  You can get ink, cardstock, washi tape, ribbon and DSP all in this fabulous color!

Thanks for looking.  Check back with the other designers over at SSI and see what their favorite in colors are.  


Tuesday, September 1, 2015

Minion Flip Card

These cards have been floating around Pinterest and I had really wanted to try my hand at them.  So when I saw we were doing a post on Kid's Birthday Cards, I had a great opportunity.  Here is my take:


This card was surprisingly easy to do.  The flip cards are so fun and with the Thinlit, you can make them so quickly!  I don't know how I create with my Big Shot.  Here is a complete supply list below.  Don't forget to check out the other Kid's Birthday cards over at SSI!  

Built for Free Using: My Stampin Blog


Tuesday, August 18, 2015

Fancy Fold - Side Stair Step Card

There are some great Halloween stamps in the new Holiday Catalog.  I knew I had to have atleast one and I had a specific idea what to do with it!  I wanted to try my hand at a Side Stair Step Card and I used this tutorial.  Here is what I came up with:


This fold part of this card was actually pretty easy to do.  What took time was figuring out how to place everything and adding the finishing touches.  I really like how this turned out.  I like the idea of a little potion shelf.  I added some Crystal Effects to the bottles to make them look like glass.  Below you will find a complete supply list.  Don't forget to check out all the other fancy folds over at SSI today!  

Built for Free Using: My Stampin Blog


Friday, July 31, 2015

Friday Favorites: Barnyard Babies

TGIF!  It has been a long week and I am excited to share a very special swap I made for Convention.  It is a waterfall card and it uses a super cute new stamp set from the Annual Catalog, Barnyard Babies.  Check it out:


Super fun, right?  This was a special card that uses a lot of supplies.  One of my goals was to try to make simpler projects.  This doesn't quite fit that description, but it is pretty cute if I say so myself.  Here are the other panels opened up.


I can't wait to make more projects with this stamp set.  I think I needed to do the waterfall card because I just couldn't pick an animal, there are all so stinking cute!  Be sure to check out the other favorites from my favorite designers over at SSI!  Here is a supply list:
Built for Free Using: My Stampin Blog

Friday, July 24, 2015

No Bones About It

There are just so many must have stamps in the new Annual Catalog.  Today we are showcasing No Bones About It, a super cute kids stamp.  It is photopolymer stamp set which is great for two step stamping!  Here it is:


So fun, right?  I have a quick and easy card using this stamp set along with Circle Flip Card Framelit and the Go Wild DSP.  


I figure you could write a message on the back.  Thanks for checking out my creation today.  Be sure to look at all the other projects over at SSI!

Tuesday, May 5, 2015

Card in a Box

I love doing fun interactive cards and fancy folds.  The card in a box is a little bit of both and its our feature today at SSI.  There is a great tutorial video from Wendy.  Here is my card:


My card in a box is actually made from a regular card base.  Initially I had wanted to use the balloon stamp and matching framelits but they were too big for my smaller card in a box.  So instead, I made my own balloons from a circle punch and the tree punch (just punched the tip of the tree).  I love using the window sheets to make it look like the balloons are floating!  I used the Painted Blooms DSP because I just love the bright colors and those dots are so fun!  The stamp set I used is Perfect Pennants.  Thanks so much for looking!  Did you get to see everyone's card in a box over at SSI?  


Thursday, April 23, 2015

My Paper Pumpkin...another Punch Art Creation

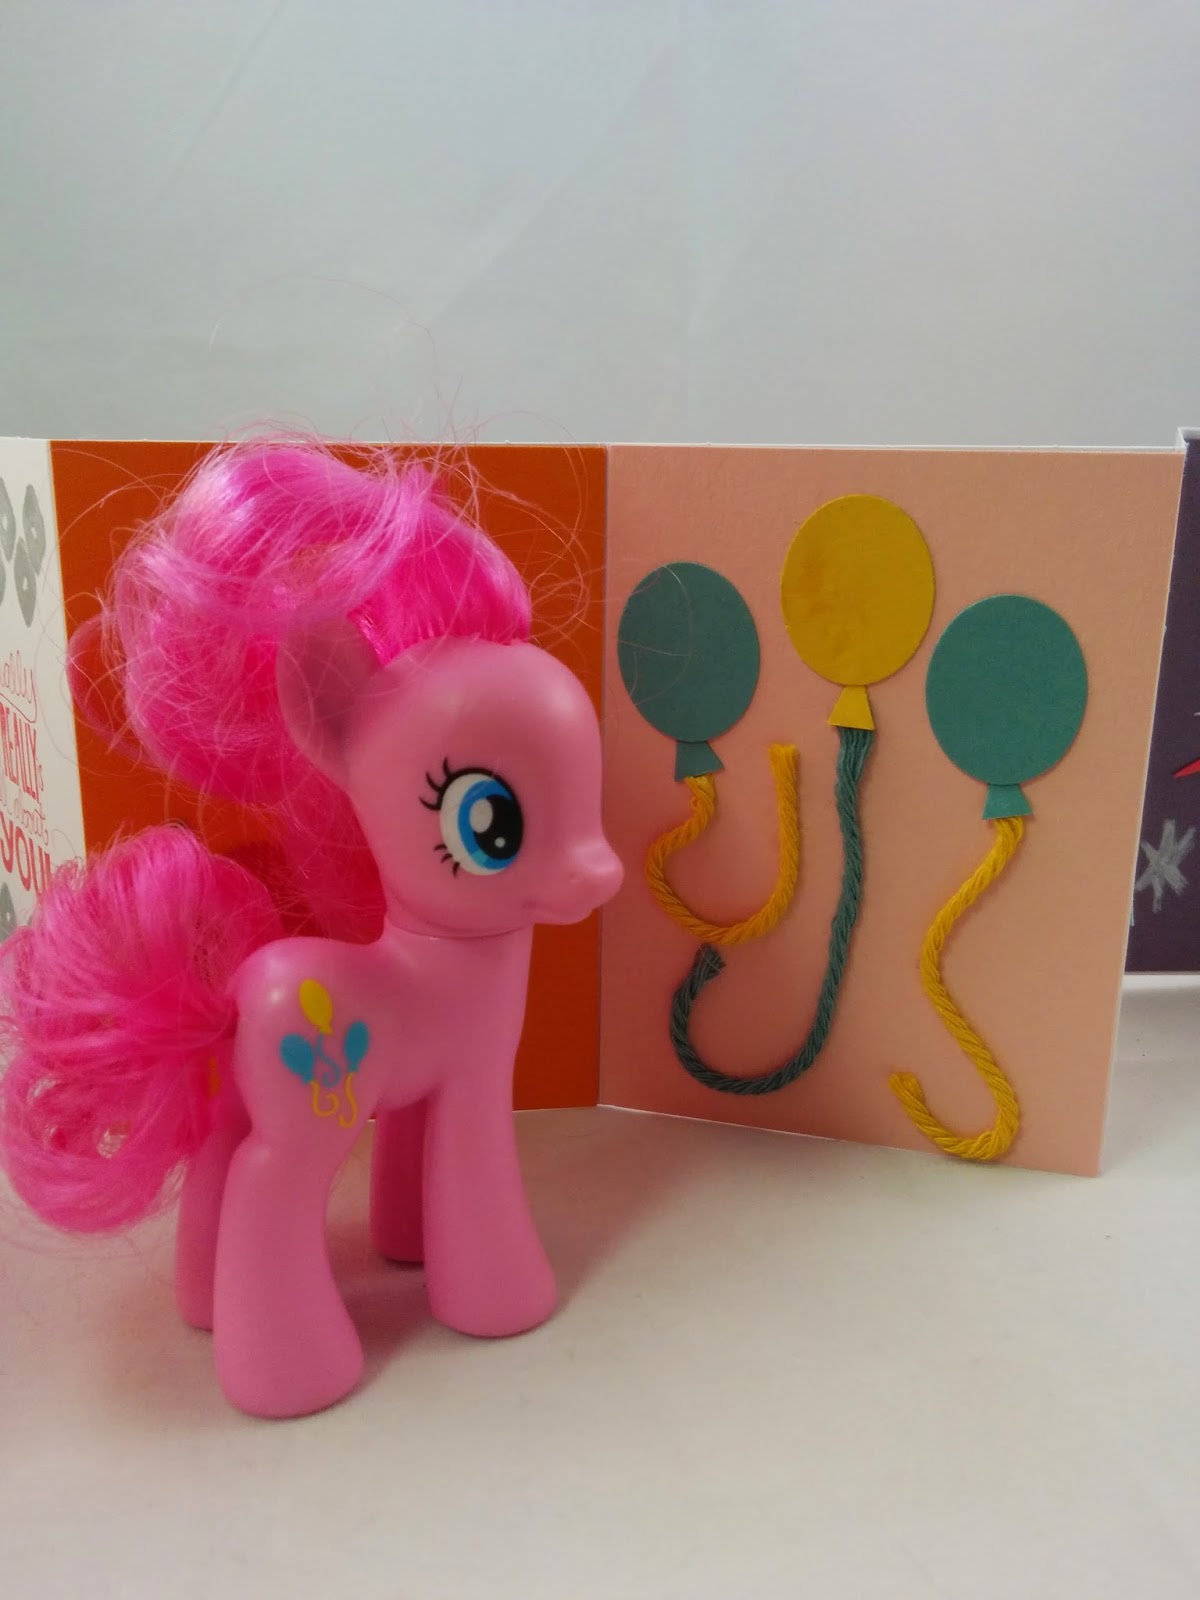
I just love the accordion cards from the February Paper Pumpkin Kit.  After I made my super cool Avengers card, I decided I wanted to try one for My Little Pony.  My daughter is a HUGE My Little Pony fan.  My husband is actually taking her to a convention this summer (he is the BEST dad).  We know all the characters and the songs and the episodes.  So I thought since I did badges for each Avenger, I could do each of the Mane Six's Cutie Mark.  I just LOVE how this turned out!  


The only problem is that I can't get a good picture of the whole thing.  So here are close ups of each panel.  


I used the sentiment from Really Good Greetings along with the splotches from February Paper Pumpkin kit.  


Here is Apple Jack next to her panel.  (I know my daughter needs to brush their hair, right?)  The apples were easy to make, just two small ovals layered on each other and the stem was Cupcake Builder Punch.


Pinkie Pie's balloons were easy too with the small oval punch.


Rarity was tricky...I used the triangle punch to make the diamond shapes.  Then I made the facets with a Night of Navy marker and went over it with Dazzling Details.


Twilight Sparkle was tricky too.  I actually used the Blossom punch and trimmed it down, once in pink and a second time smaller in white.  Then I added the other 5 stars with the chalk marker.


Fluttershy's butterflies were easy with our butterfly punches.  


Rainbow Dash was another one that was tricky.  I used the Cupcake Builder punch for the clouds but I had to hand cut the rainbow.  

This was a lot of fun to make.  I am sure I will find a perfect My Little Pony fan to give it to!  Thanks for looking!  Did you look at all the other Paper Pumpkin Creations from the members of the Design Team over at SSI?  


Friday, April 17, 2015

Punch Art that Packs a Superhero Punch!

Today we are showcase some fabulous punch art.  A few weeks ago I made a masculine card inspired by Captain America and I mentioned attempting to make more Avenger cards.  Well that day has arrived, sort of.  Instead of making another individual hero focussed card, I tried my hand at making badges for the six main Avengers.  And to have the room for all six badges, I used one of the accordion cards from the February Paper Pumpkin.  Here is the card:


Here is a close up and a little explanation of each panel.


Captain America was the easiest to make because I had scraps left over from the card I had previously made.  All I needed was circles and a star (this one was from a framelit) in Real Red, Pacific Point and Whisper White.


Thor was also pretty easy, I used the large ticket from the Ticket Duo punch and the word window for Mjolnir (Thor's hammer). I added a little sponging in Smoky Slate as well.


This was my second try with Hawkeye.  Initially I tried to make a bow and arrow, but I decided a target would work better and be each.  I used Rich Razzleberry.  To make the concentric circles, you punch the smaller one first, then punch the larger one around it.  


Iron Man was the hardest and is my least favorite of the panels.  His shape is a little more unique so I was stumped for a bit.  I finally grabbed a die from the Chalk Talk framelits and made it smaller by running the die partially through, then repositioned the die to make it shorter.  I used a bit of Dazzling Diamonds Glimmer paper for the eyes.   


Hulk was easy,I just had to make the a symbol for the gamma radiation responsible for Hulk's powers.  I just used circle punches and the triangle punch to make this one.


Black widow was also a little tricky.  I settled on a spider marked with a red hour glass mark, like the spider itself.  

Punch art is like an experiment with paper.  Sometimes things don't work but other times you end with great results.  You can make just about anything!  Thanks for looking!  Check out all the other Punch Art creations over at SSI.


Friday, April 10, 2015

The Friday Mashup #204 and Create with Connie and Mary #350

I got to make a third card today during my son's nap.  I guess this is the one benefit from his teething, these monster size naps.  I not only got to do two challenges, I also tried my hand at a cool new and surprisingly easy fancy fold thanks to Linda Bauwin.    My challenges are for The Friday Mashup and Create with Connie and Mary.  


For this challenge, I am just doing the "Congrats" part.  Although I would love to try a shaker card too...maybe later this weekend I will give it a shot since I never do those cards!


Great colors, right?  Here is my card:


The only problem with the flip cards is that they are hard to photograph because they don't stay closed.  I used a clip to help keep it closed the best I could.  Here it is opened up:


So I decided to go with a star theme.  I thought this would be a great graduation card.  The Circles Flip Card die is just great and all I did was run a normal card base through twice.  It also comes with that scallop circle on the front as well as several other little dies.  The Crushed Curry paper is actually the Irresistibly Yours DSP sponged in Crushed Curry.  I just love this paper and really hope they bring something like this back in the new catalog.  That would be major awesome-sauce!  

The sentiment is from the stamp set Something to Say, and I am glad I used it because it really hasn't seen much ink.  I added some of the Epoxy Stickers that I colored with a Calypso Coral blendability marker.  I added some stars with the Itty Bitty Accents Star Punch and finished it off with some ribbon from Sale-A-Bration.  This card is a little bigger than a normal card and would not fit in a traditional envelope.  But I can easily bust out my Envelope Punch Board and make a custom made envelope, easy peasy, lemon squeezy!  

Thanks for looking!